New projects are initially put on inactive. In this status the project is not available to any user.
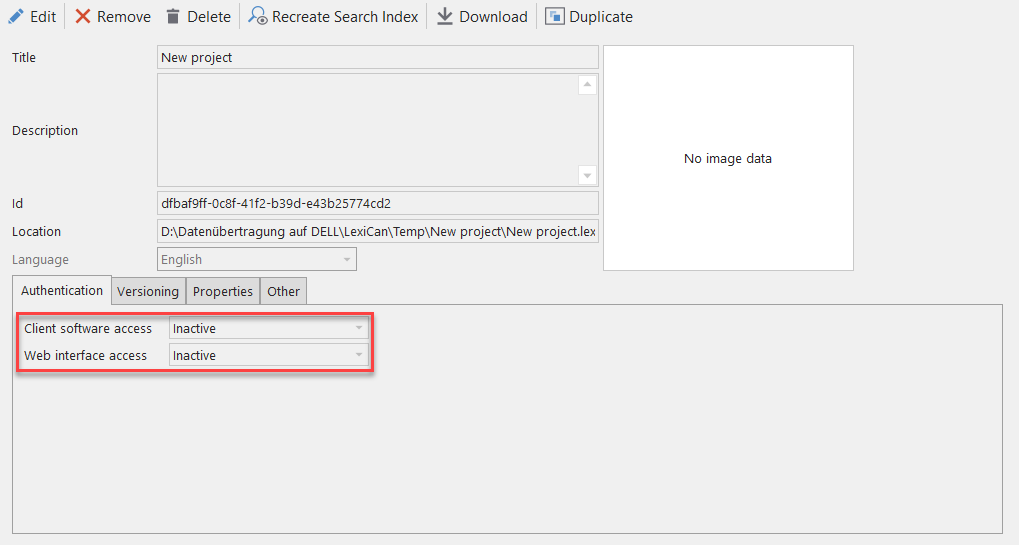
To make the project accessible, you must define whether and how access is to be restricted. To do this, take the project in process and open the pull-down menu. Three further modes are available in addition to ‘Inactive’.

1. ‘Public’ - Access without protection
This setting allows each user to open, read and also edit the project.
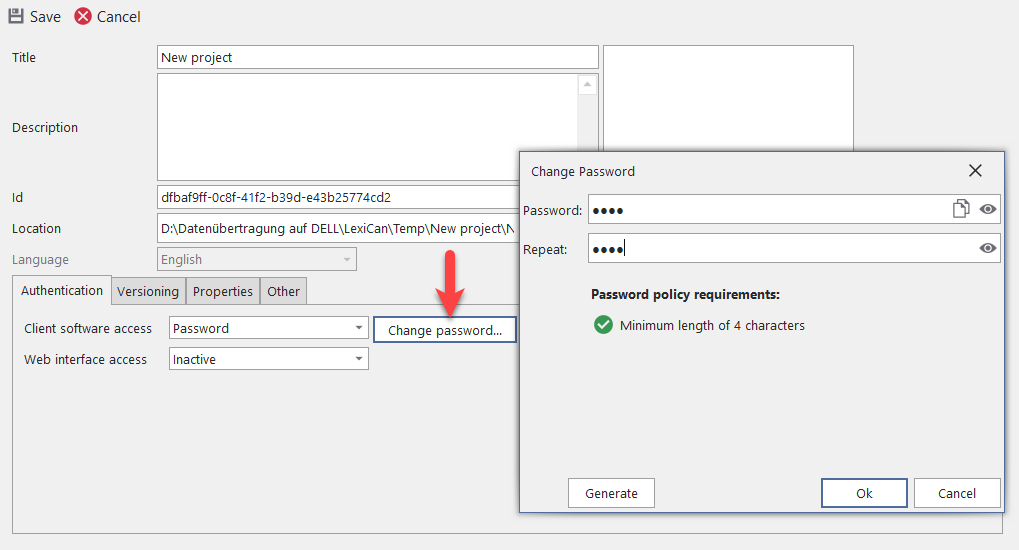
2. ‘Password’ - Access protection via general password
Here access is protected by a general password, i.e. to open, read and edit the project, a user must know and enter the password defined by you. To define the password click on ‘Change password’. Regarding the password policy requirements, read the article General system settings.
3. ‘User’ - Access protection via user accounts
The ‘User’ setting allows you to authorize individual user accounts with individual single rights. The further procedure varies depending on the selected authentication method. The descriptions in 3.1 and 3.2 apply equally to individual user accounts and user groups.
3.1 Procedure for standard authentication
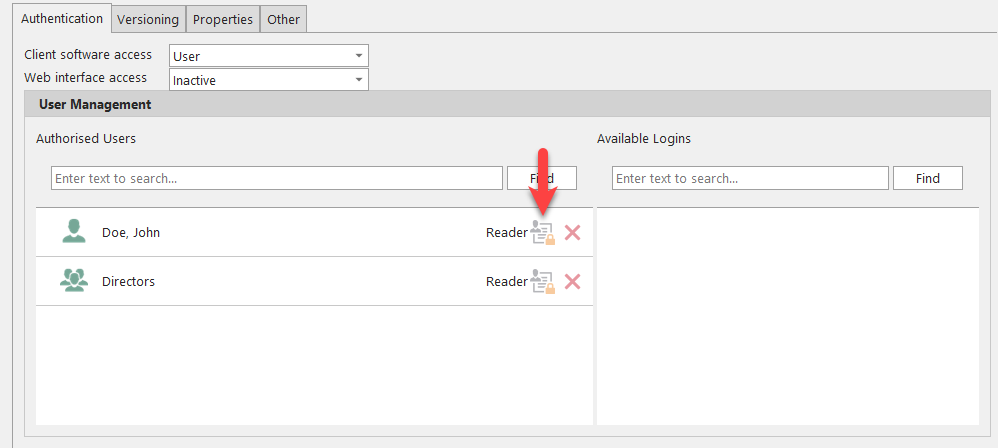
In order to define permissions according to this method, user accounts or user groups must be created in advance. After selecting ‘User’ two fields are displayed. In the right field you will see a list of all created user accounts. In the following example this is the user account ‘Doe, John’ and the user group ’Directors’.
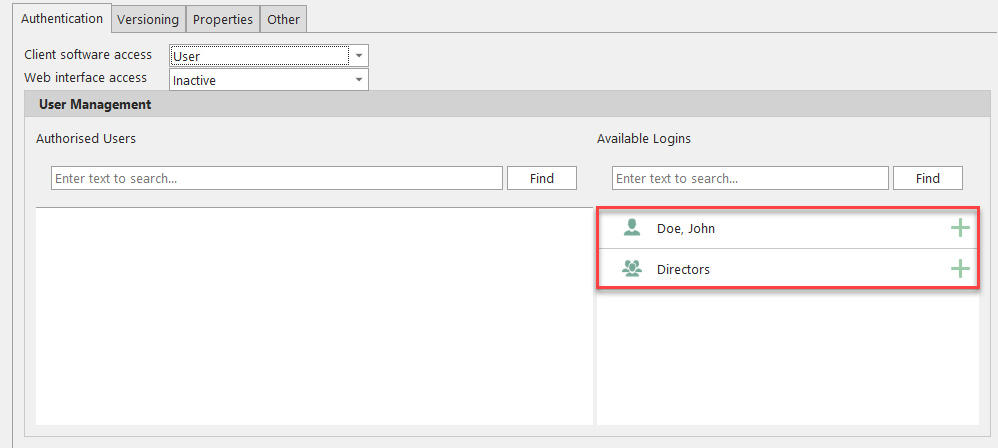
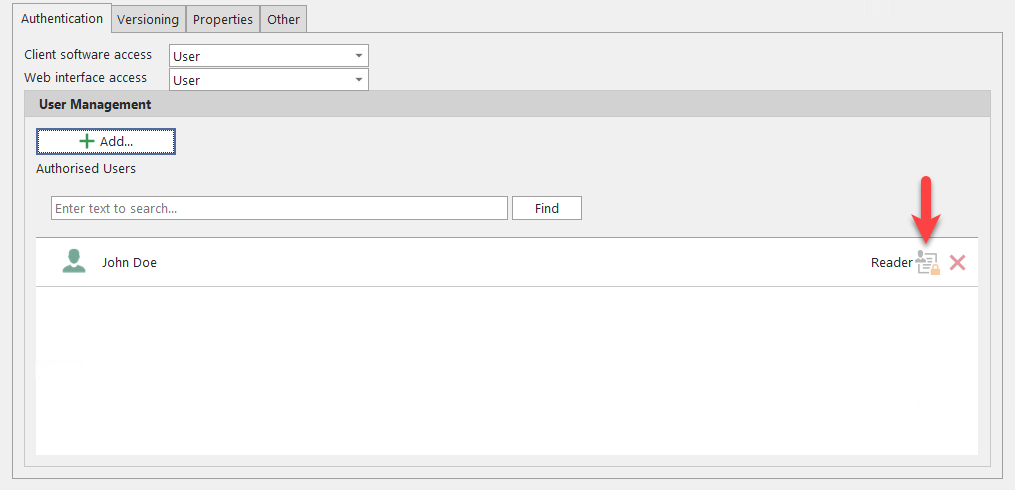
You can use the green plus sign to move user accounts/groups from the right field to the left field. There, both are then initially listed as authorized to read for the project.
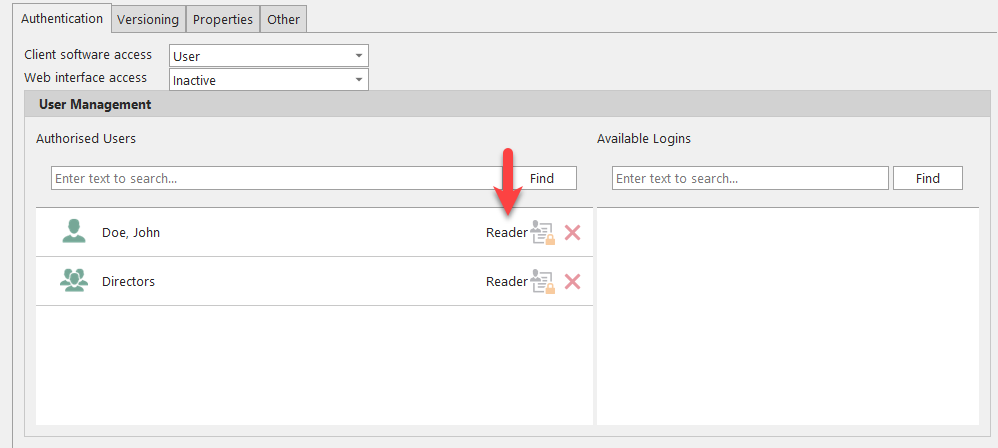
To remove a user account from the list of authorized accounts, click the red cross symbol.
To extend the rights of a user account, click on the other symbol.
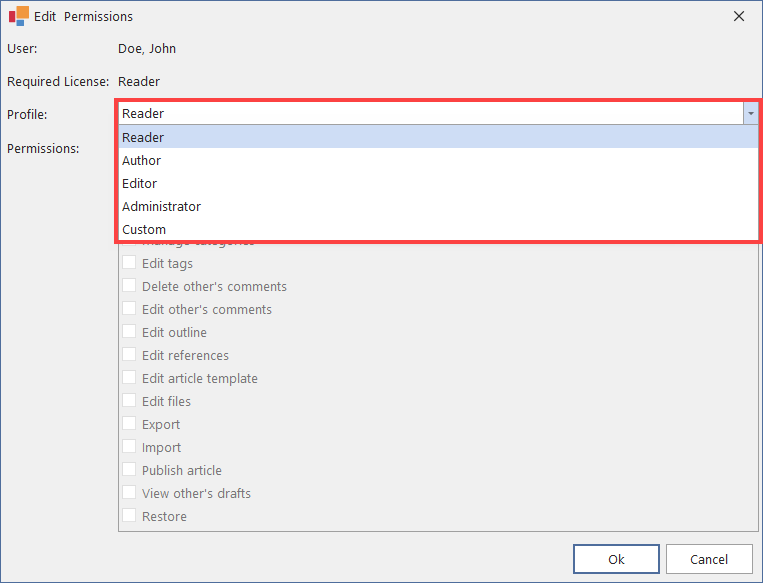
Using the pull-down menu in the dialogue window, you can determine which individual rights you wish to grant to the user account or group. Predefined profiles are available. You can also define the rights individually via ‘Custom’.

3.2 Procedure for authentication via Active Directory
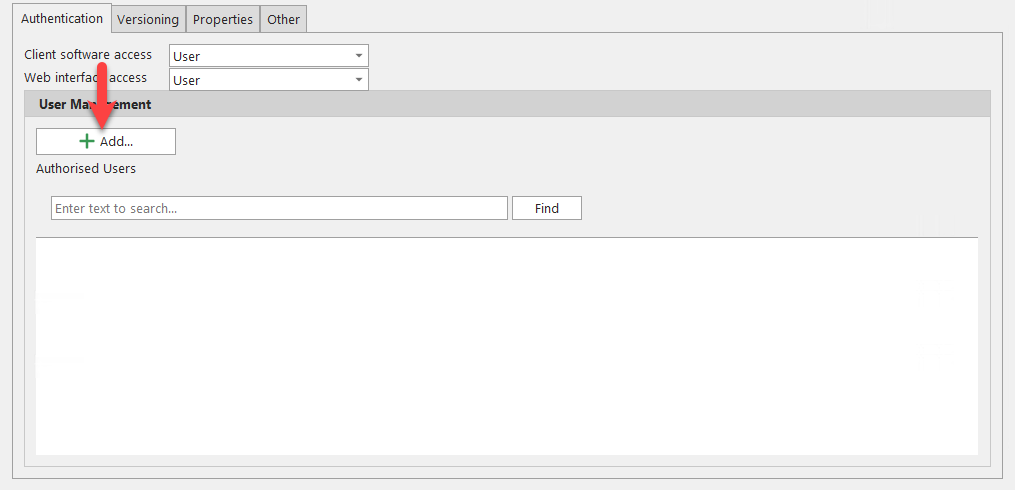
With this setting, users are not authorized via user accounts created in lexiCan, but via the network accounts of these users in the Active Directory or user groups created there. Automatic login via single sign-on then also takes place. Click on ‘Add‘ in the following view.
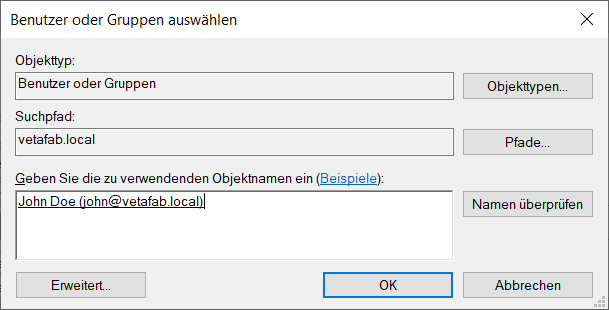
This opens the dialog box for selecting AD accounts. Search here for the account or group to be authorized and confirm with ‘OK’.
This is then listed in the administrator with read permission.
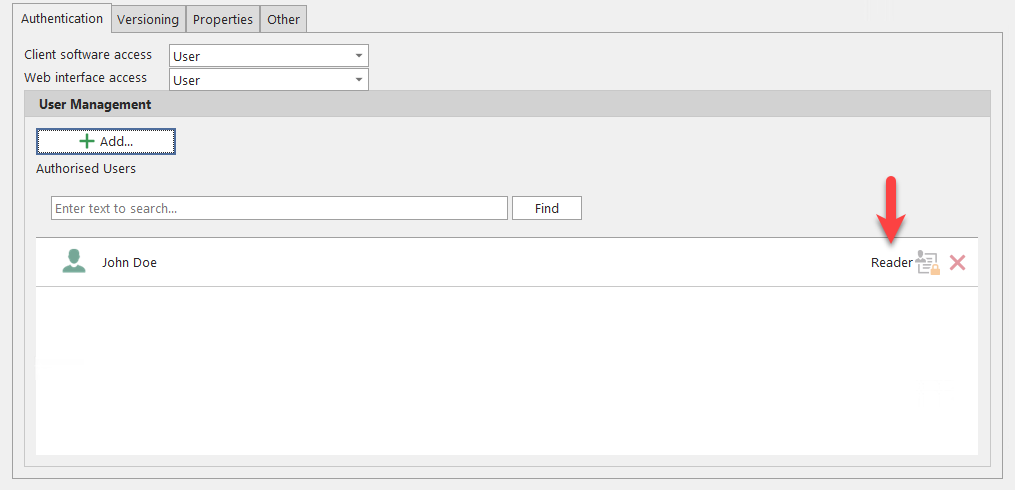
To remove a user account from the list of authorized accounts, click the red cross symbol.
To extend the rights of a user account, click on the other symbol.
Using the pull-down menu in the dialogue window, you can determine which individual rights you wish to grant to the user account. Predefined profiles are available. You can also define the rights individually via ‘Custom’.
The single sign-on functionality can also be activated when using the standard authentication. Read about this in Create user accounts and assign them to user groups
Continue with Further settings.